This is the third episode of the blog on “how to start your own cleaning business ” and it has already attracted a lot of interest. Here is a juicy tip, there aren’t enough good cleaners or good cleaning companies about because a lot of cleaners are not reliable, underpaid and always on the move to where they can get more money. If you think you can run a cleaning company, I will encourage you to go for it because a lot of businesses and homes are always on the lookout for a reliable, professional and caring cleaner or cleaning service. There is more than enough fish in the ocean to go around.
Now, following on the principles of cleaning in the last post, here are the basic cleaning steps based on the mentioned principles. I have included common areas that you will face in most buildings but this isa basic guide. Below can be your equivalent of cleaning checklist, but I prefer to call it a cleaning schedule or “the schedule of cleaning” as it sounds more professional. Every building should have its own schedule because all building and Client’s needs are different. I have written much more detailed versions when needed and this is where I get nerdy about cleaning, so apply some thoughtfulness on this. Please note that a good cleaning schedule is detail but also easy to understand, can be understood by any cleaner while it covers all of the client’s expectation.
To make sense of this, Blue colour coding is for general areas and red is for toilets. The cleaning solutions for general areas including the kitchen is multi-surface sanitising solution and washroom cleaner for cleaning toilets.
OFFICES:

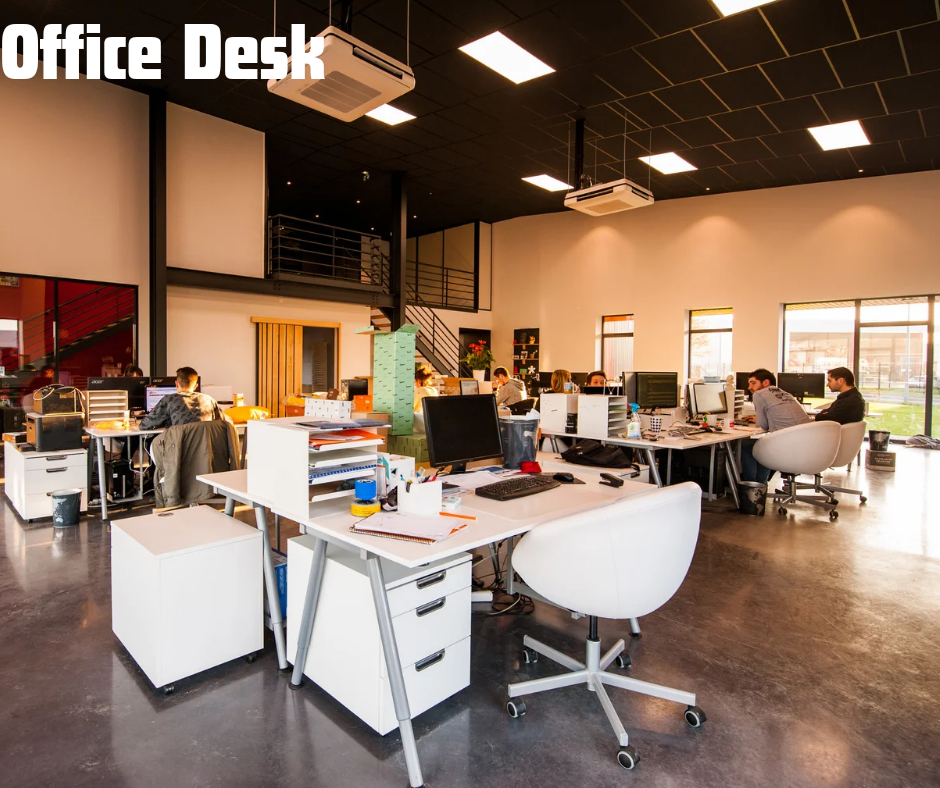
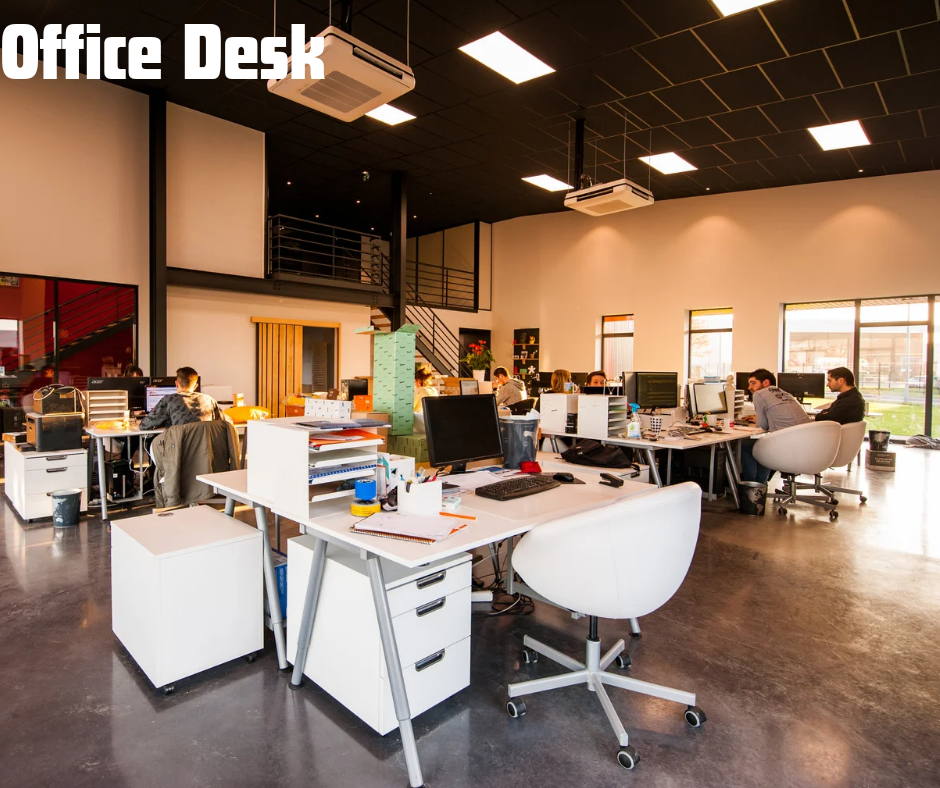
Desks cleaning: remember your colours before starting
1. Remove dust from the desk and computer, desks should be wipe using multipurpose sanitiser sprayed onto a damp blue microfibre cloth. Wiping all parts of the desk Inc. legs an drawers to remove any dirt, food stains and dust. DO NOT OPEN ANY DRAWS
2. Wipe and clean office draw, focusing on the front and sides to remove any marks and dust. Use a damp blue microfibre cloth sprayed with multipurpose spray in circular motion until clean. DO NOT OPEN ANY DRAWS.
3. Move devices and objects such as paper trays, keyboards, loose paperwork and mouse to ensure all areas are cleaned. Making any bases of monitors are cleaned as well.
4. All appliances on the desk should be wiped down using a clean damp cloth with only water on cloth. NO SPRAY SHOULD BE SPRAYED DIRECTLY ONTO ANY MONITOR, COMPUTER, KEYBOARD OR MOUSE. Ensure all fingerprints have been wiped away.
5. Chairs: Use the duster or the vacuum cleaner where possible to remove dust from the back, frame and leg of chair. Wipe down any part of the chairs that can be cleaned i.e. plastic. Including the leg chairs and back of the chair, removing dust, dirt and any crumbs, using multipurpose sanitiser on a damp blue micro fibre cloth. 6. Empty each desk bin and replace with a clean small white bin liner, dispose of all waste. IF there is only a small amount of waste such as paper and the bin is not stained, to cut waste to the environment empty the contents into a main general bin without changing the individual desk bin liner. Bin must be tied on the rim on the bin and tucked into it.
You can see a more detailed cleaning guide for office spaces via this link
FLOORS: Sweeping and Vaccuming
Hard floor & Carpets
1. Make sure all debris is removed off the floor, cobwebs removed, and skirting boards cleaned.
2. Pick up any miscellaneous items present on the floor ready to be cleaned. for carpets, vacuum all parts of the floors making sure to cover every floor space.
a) Move furniture when required to clean under furniture, such as chairs, and equipment.
b) Use the round brush head to remove dust in both high and low areas, change from the general vacuum head to the round brush head. Using the round brush head, ensure all skirting boards have been vacuumed over removing dust.
c) Using the same round brush, vacuum over any fabric chairs removing any crumbs and/or dust/dirt. Ensure the backs of the chairs are also cleaned.
Find a detailed vacuuming guide HERE
Mopping
1. Follow the steps above but ensure to press the hard floor function on your vacuum brush head to use the hard floor function for a more effective clean.
2. For hard floor surfaces, pour 25ml of the floor cleaner into a Y2 bucket of water and mix.
3. Taking a blue mop head and a blue bucket for general areas and a red mop head and red bucket for toilet areas.
4. Put the mop head in the bucket and wring it out until there is no more excess water left in the mop. Avoid excessive applying _ with excessive water onto the floor as it can damage laminate/ floor
5. Before beginning to mop the floor always ensure a wet floor sign is present to warn anyone that the floor is wet and a potential slip hazard. Place the sign(s) where it will be seen by others.
6. Begin mopping the hard floor surface covering all areas of the floor to ensure no area is missed. Hard floor surfaces should be thoroughly cleaned to remove footprint marks, spilled
food/drink, dirt and grime. Where corner is hard to mop, use a cleaning brush to loosen the dirt in the corner and mop again.
7. Only remove wet floor sign when the floor has been fully dried.
8. When covering bigger areas, more than one wet floor sign may be required to ensure no accidents happen.
There is a more detailed guide on mopping HERE

Entrances, general and reception areas:
1. Remove any rubbish or debris left on the floor, tables, chairs or any surface area, place any rubbish found in a waste bin.
2. Begin wiping down any tables, chairs and surfaces with a damp blue cloth sprayed with multipurpose sanitiser. Wipe in circle motions to remove dust, dirt and any food/ drink stains.
a. Move any items on any table surfaces to make sure every area is cleaned b. Wipe down the back of the chairs, including the legs to remove dust and dirt.
c. Ensure no marks are left on table surfaces from left over residue from the cleaning products
3. Remove any cobwebs from any corners of the room, paying close attention to high to reach corners, low areas, behind equipment looking in all areas. Using a feather duster, catch the cobweb removing it from its area.
a. When the feather duster is full of cobwebs, pull off the old cobwebs placing them in a general waste bin. ALWAYS MAKE SURE TO WEAR GLOVES.
4. Dust any Tv’s or media devices using a blue cloth with NO product sprayed onto it. Gently wipe down to ensure all marks and dust are removed.
5. Wipe and clean all window seals and skirting boards to remove dust.
a. For window seals use a damp blue cloth sprayed with multipurpose sanitiser to wipe down the surface in circle motions.
b. For skirting boards either wipe down using the same method or using a round vacuum brush head vacuum the boards making sure all dust is removed. If stains or dirt is present, wipe down the area.
6. With a damp blue cloth wipe down any glass surfaces removing any marks present. Begin buffing the glass with a clean dry blue cloth to remove all marks and stains ensuring the glass is left clean and clear.
7. Wipe and clean all doors/ door frames and door handles using a damp blue cloth sprayed with multipurpose sanitiser. Wipe in circle motions to remove any stains or fingerprints from the surface. Making sure to cover all areas.
8. Wipe down monitor including stand and base, mouse, printer and keyboard removing any dust, dirt and fingerprints. Using a damp blue micro fibre cloth sprayed with multipurpose sanitiser wipe down removing all stains, leaving the surface free of marks and fingerprints
a. DO NOT SPRAY ANY PRODUCTS DIRECTLY ONTO ANY MONITOR
b. Ensure all marks and fingerprints are wipe free from monitor screens being delicate and cautious to not damage any equipment.
9. Make sure all floors are cleaned, please refer to the floor cleaning section.
10. Empty all waste bins, including any desk bins behind reception. Remove old bin bag and replace with a clean bin bag. Place old full bin bag in the outside bins. Full for bin changing guide and You can see a more detailed cleaning guide for office spaces via this link
If you find this useful and need any additional help in creating your cleaning schedule, please feel free to get in touch. See links to previous post below.
- The Importance of Professional Cleaners
- The impact of AI Artificial Intelligence on the Cleaning Industry | CleanBow
- How To Write a Business Plan for New Cleaning Company |An Example
- A Master Cleaning Checklist For All Interior Cleaning | Think like a Professional Cleaner
- 10 Reasons to Start Your Own Cleaning Business in the UK, Right Now


